The short answer to half the "kill or spare" questions: almost none of them affect the ending of Stalker 2. The ending is decided by three conversations near the end (Subtle Matter, Dangerous Liaisons, The Last Wish). Squint, Nimble, Docent and the rest only change money, weapons and a scene or two. Below are twelve of those choices in story order, what each one costs you and what I'd pick myself. Plus Zulu versus Mavka from Cost of Hope, which does decide that expansion's ending.
- The table: where a choice actually changes something
- The Lesser Zone: Squint, the sensors and Solder
- Garbage: Shah, Roosevelt, Varan, Docent and the Drowned
- Slag Heap, Azimuth and Zaton: the PDA, Foma and Nimble
- SIRCAA: Hermann, and the Ward or Noontide
- Cordon: Unhealthy Competition
- Cost of Hope: Dead or Alive, Zulu or Mavka
- What actually decides the ending: three conversations
The table: where a choice actually changes something
| Choice | Mission | What's at stake | My pick |
|---|---|---|---|
| Squint | A Needle in a Haystack | side quest Piece of Cake, no lasting effect | help him, then suit yourself |
| Sensors: Zotov or Richter | Behind Seven Seals | which mission branch comes next | taste |
| Solder | Behind Seven Seals | help in The Hornets' Nest | knock him out |
| Shah or Roosevelt | King of the Hill | peaceful decoder, the Brood base | kill Varan |
| Docent | No Honor Among Thieves | stash with Shah's Mate | spare |
| Drowned | Boo's request | a unique AKM-74S | keep it |
| Unusual PDA | Back to the Slag Heap | the Ward badge | show it |
| Foma | Chasing Ghosts | nothing, he dies anyway | either |
| Nimble | In Search of a Guide | 2,699 coupons | spare |
| Hermann | Wishful Thinking | nothing, he survives | let him go |
| Ward or Noontide | Wishful Thinking | branch until Subtle Matter | taste |
| Swedish or Sidorovich | Unhealthy Competition | coupons | warn, then kill |
| Zulu or Mavka | The Destructive Power of the Mind | the Cost of Hope ending | pick by the finale |
The Lesser Zone: Squint, the sensors and Solder
Squint: kill or help
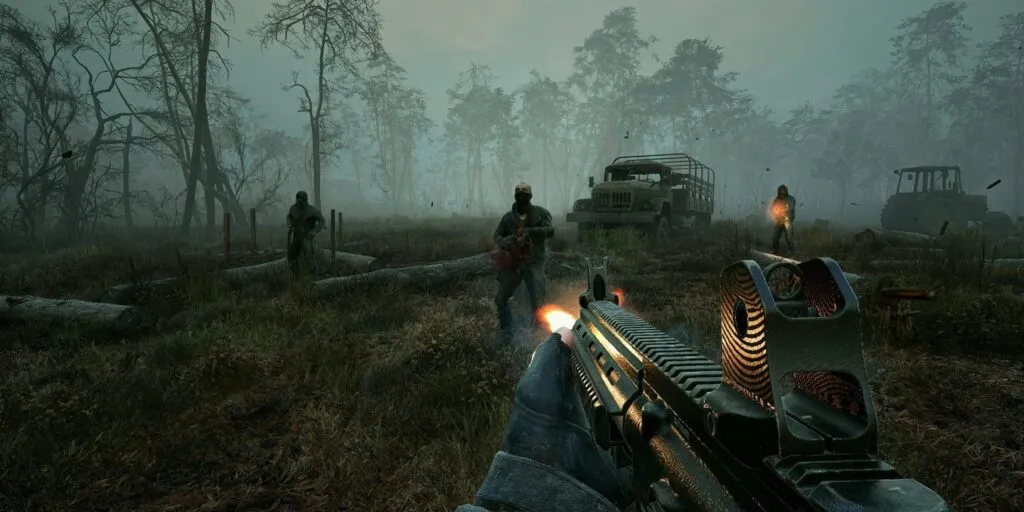
Mission "A Needle in a Haystack". Squint from Spark is up the windmill at the Old Mill east of Zalissya, and the ladder is tripwired. He finished off a wounded Warden and took the sensors from the bodies, which is why both sides want him. Help him and the side quest "Piece of Cake" opens: go down into the cave under the house nearby, kill a bloodsucker and pull the Mold artifact out of the acid anomalies, which Squint swaps for the sensors. Kill him on the spot and you just loot the sensors.
You can do both: bring the Mold, then shoot him anyway and keep the artifact and the sensors. Game8 says flatly that killing him has no lasting consequence. Prima Games claims that after killing him you can only give the sensors to Zotov, but Game8 and the English wiki both disagree. Spare him and Squint turns up again later, eventually zombified, so PC Gamer suggests helping "just in case".
The sensors: Zotov or Richter
This is the first real Ward versus Spark split, in "Behind Seven Seals". Even earlier, Warlock in the Zalissya bar sends you to Captain Zotov or to Gaffer, and once you go to one side you can't ask the other. Give the sensors to Zotov and you leave the Sphere through the western checkpoint, and "Answers Come at a Price" plays out in its Ward version, heavier on dialogue. Give them to Richter and Gaffer and you get the tunnel code, the North checkpoint and the Spark version with more fighting. Rewards: an extended PTM magazine, the Researcher hazmat suit from Gaffer, or 1,649 coupons from Zotov. No effect on the ending, but it changes a Korshunov scene later.
Solder: shoot or knock out
Same mission. Knocked out, Solder survives and later helps in "The Hornets' Nest" by showing you the generator room where you can switch off the psi-emitter. Shot, he never returns, except as a ghost by the fire on the Spark route. Knock him out; there's nothing to weigh up.
Garbage: Shah, Roosevelt, Varan, Docent and the Drowned

Shah or Roosevelt
Mission "King of the Hill", inside "Deal with the Devil". Varan lets you see the prisoner for 20,000 coupons or for a rival's PDA: Shah of the Brood (backed by Freedom) or Roosevelt of the Commissary (backed by Duty). The key fact: Varan betrays you after you see the prisoner no matter what. That's why Game8 suggests just killing Varan, so you skip King of the Hill and both bosses live. He shows up as a ghost on the Spark route later, and that's it.
If you do pick one: you can't reach Shah without a fight, so you'll clear the Brood base and lose its trader. With the unique Viper-5 "Shah's Mate" a guard lets you into the bar, but Shah attacks anyway. Roosevelt can be talked down: he pays 6,000 coupons and lets you go, though he keeps his PDA. And a living Roosevelt later contacts you himself in "Legends of the Zone" at the Lokomotyv depot and hands back Sidorovich's decoder peacefully; after an apology Sidorovich sends you a stash. Kill Roosevelt and you'll have to fight for that decoder.
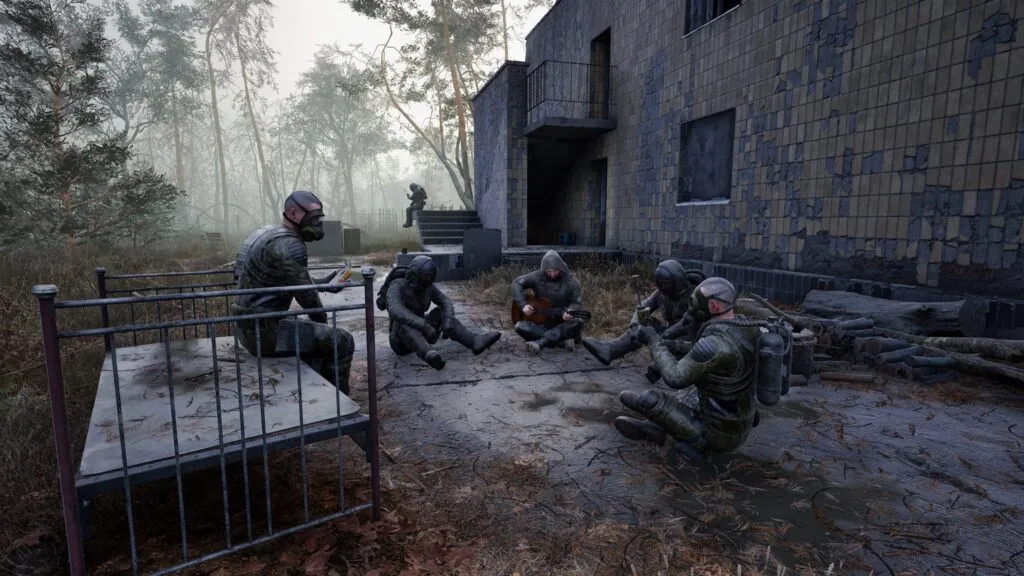
Docent: spare him
Side quest "No Honor Among Thieves" from Huron the barman at the Slag Heap; Docent hides in the Plant Boiler Station. Spare him and he buys his life with the location of Shah's stash holding Shah's Mate, a Viper-5 with a 40-round magazine: it's under the bridge between the Toxic Hole and the Labyrinth, and a bloodsucker attacks once you grab it. Kill him and you get a plain AKM-74S. The cargo is lying there either way. Game8 says spare him, and if you must, take the coordinates and shoot him afterwards.
The Drowned: give it to Boo or not
Boo, on the bridge by the southern entrance to the Slag Heap, asks you to fish his rifle out of a radioactive ditch. It's the Drowned, a unique AKM-74S with a built-in underbarrel launcher and a coupled magazine. Hand it over and you get a thank-you. Keep it and Boo sulks but won't attack. Every guide I found says keep it. You can also take it without offending him by waiting for an Emission and picking it up. It's near zero durability: GamesRadar quotes 11,500 coupons to repair, while the English wiki lists that figure as the gun's price.
Slag Heap, Azimuth and Zaton: the PDA, Foma and Nimble
Show the unusual PDA or not
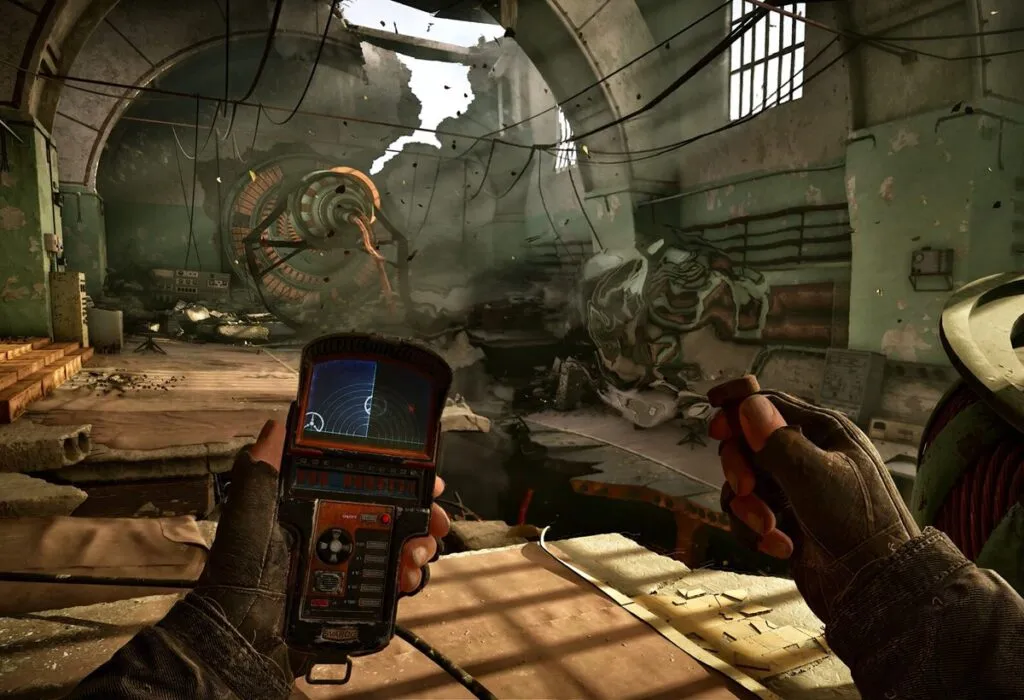
Mission "Back to the Slag Heap". Show it to Korshunov and you get the Ward badge, which gets you into Malachite and Wild Island without extra missions and calms down Ward patrols. Show it to neither Korshunov nor Scar and you'll need the side quest "A Heavy Burden" to reach Wild Island. Show it to both and Star calls you a snitch, but it doesn't affect standing. Strider sees the PDA whatever you answer. Sources disagree on whether the unique Combatant rifle comes with the badge; it depends on how you handled the two earlier choices, while the badge itself is guaranteed. I'd show it.
Foma: shoot or leave
Mission "Chasing Ghosts" at the Azimuth station. Foma with an SVDM-2 snipes at you from the tower; he brought the renegades and put Strider's people back under the Monolith. He dies either way. Leave, and before he goes he explains what he did and why, then says a prayer to the Monolith. That monologue is the whole difference.
Nimble: spare him for the money
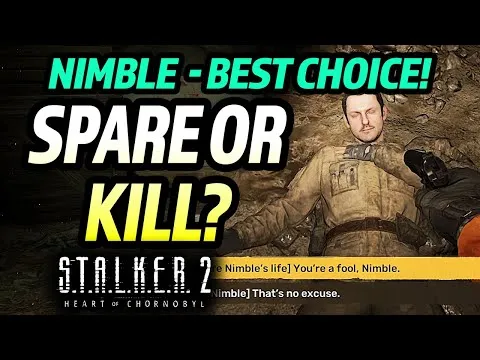
Mission "In Search of a Guide", the Snork Cave in Zaton. He's the man who knocked Skif out and took the scanner in the prologue. Answering "That's no excuse" leads to a fight where he disarms you and you have to kill him. Spare him and he hands over Professor Kalancha's map and 2,699 coupons. You get the map either way, so the question is just the coupons. After this Nimble never appears again. Game8 adds that you can take the money and shoot him in the back, which is on your conscience.
 The video loads from YouTube (Google) when you press play. Privacy policy
SIRCAA: Hermann, and the Ward or Noontide
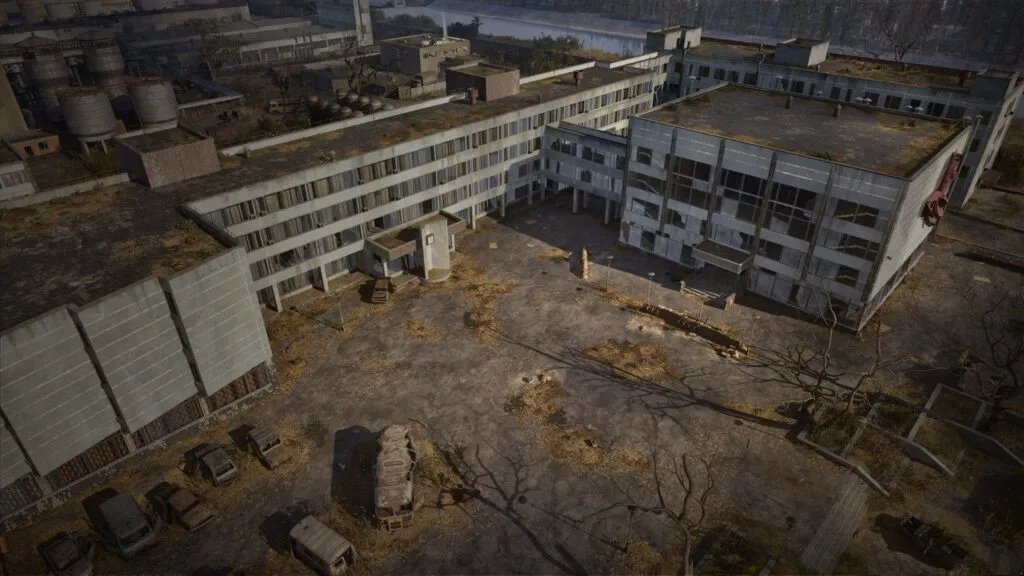
Professor Hermann. In "Wishful Thinking" Agata shows you Hermann tied up, says he tried to have you killed, and gives you a pistol, with a timer running. He survives either way: if you shoot, on the Ward route he later explains in the Foundation that it was an induced illusion. The Russian wiki puts it plainly: it doesn't affect the rest of the game. On the Ward route let him go and Agata and Hermann both note your restraint.
The Ward or Noontide. In the same mission Semen Dubnyi asks whether you're with Noontide or the Ward. Noontide leads to "To the Last Drop of Blood" and work with Scar and Spark; the Ward leads to "Law and Order" and Korshunov and Dalin. It doesn't affect the ending, which is decided from Subtle Matter on, and Noontide reverts to the Monolith either way. Game8's summary: the Ward missions are easier and open the Chemical Plant and Malachite but close Rostok; Spark has more familiar faces (Scar from Clear Sky, Strider from Call of Pripyat) and opens Rostok, but closes the Chemical Plant and Malachite.
 The video loads from YouTube (Google) when you press play. Privacy policy
Cordon: Unhealthy Competition
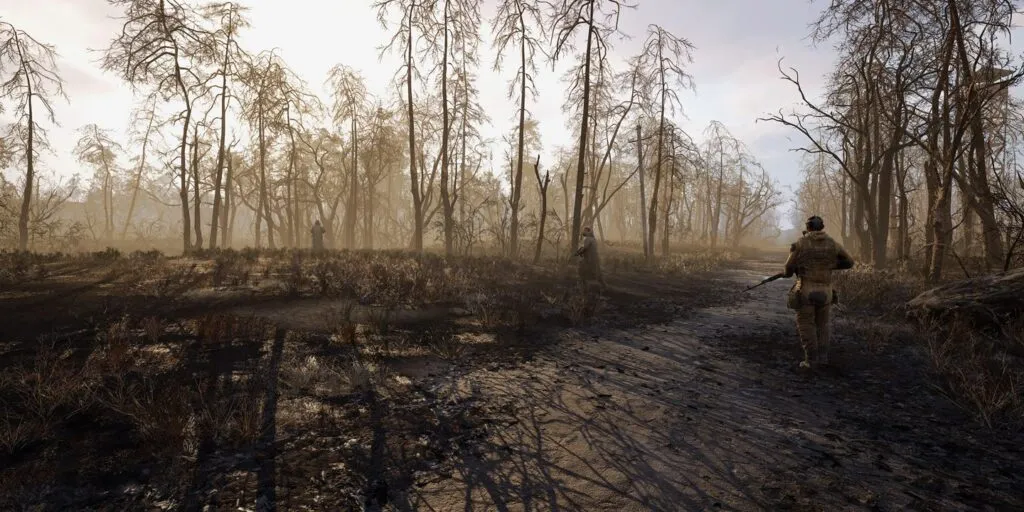
Sidorovich wants the traders in the transport tunnel gone: Swedish, Vova Jackdaw and Sanya Kolun. There are three ways to play it, and the dirtiest pays best.
- Kill them straight away: Sidorovich pays 2,850 coupons (the wiki lists 2,650 and 3,350 on other difficulties; Sportskeeda says 3,374).
- Warn Swedish: he gives you 1,500. On the way out Vanya Tarantula asks whether you're with them: "Yes" means killing the traders together for another 1,150, "No" means defending the traders from Tarantula and four stalkers, and Swedish pays 1,850 more.
- Warn him, then kill them: 1,500 from Swedish plus 2,850 from Sidorovich, the most money.
If you protect the traders Sidorovich grumbles but keeps giving you work. And check Vova Jackdaw: he carries a good Grom S-14, although it needs repair.
Cost of Hope: Dead or Alive, Zulu or Mavka
Dead or Alive. Captain Vusatyi at the Iron Forest gate asks you to find three scouts. Panchenko has deserted to Duty, Tsvyhun is dead, and Lieutenant Sorel can be let go or killed, after which you decide what to report. The reward is the same either way: 4,000 coupons on Stalker difficulty. Just don't be late: the quest fails if you don't finish it before "In the Heart of the Iron Forest".
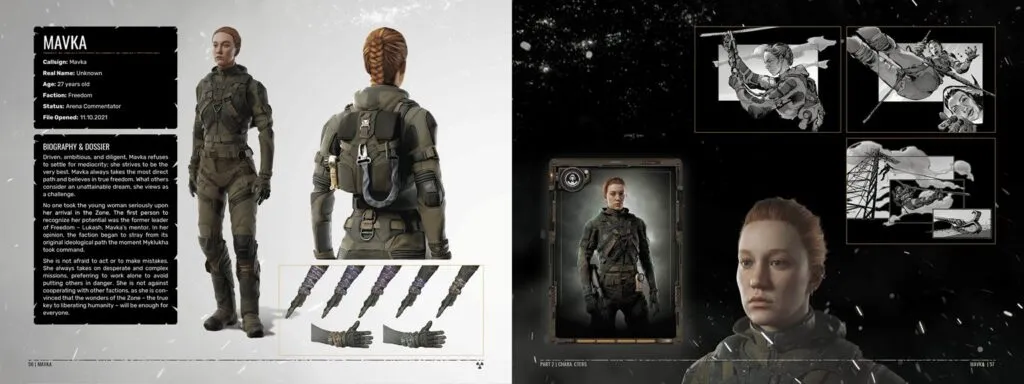
Zulu or Mavka. The only choice on this list that decides an ending, just not the main game's. In "The Destructive Power of the Mind" the technology in X16 turns out to be a mutant in a capsule: Zulu wants it destroyed, Mavka wants it kept. "Zulu, you're wrong" takes you with Mavka and Freedom, "Mavka, back off" with Zulu and Duty, and there's no going back, so make a manual save. Freedom gets you the Guardian, Leichtfuchs and Freedom's Bounty, turns Duty hostile, and ends in what GameRant calls the bad ending. Duty gets you the Mriya and the Stranger's Rifle, turns Freedom hostile, and ends in what GameRant calls the "somewhat good" one. Side quests are the same on both paths. Earlier in that mission there's also a minor choice, going into X16 quietly with Mavka or loudly with Zulu, which doesn't affect the ending.
What actually decides the ending: three conversations
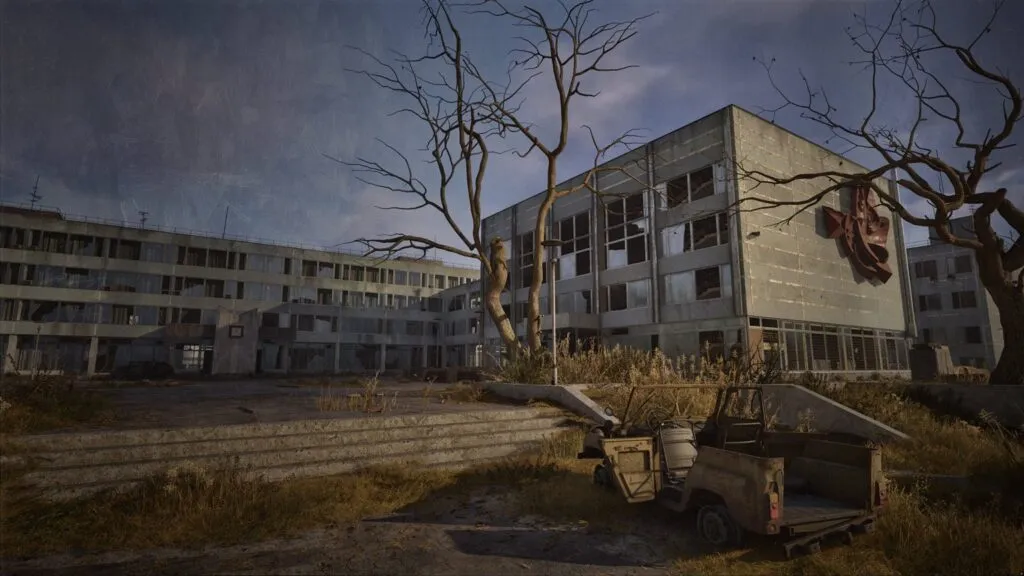
To clear up searches like "kill Scar", "kill the Doctor" and "I'm with you or escape": those are the ending choices, and our endings guide covers them in detail. In short: in "Subtle Matter", "Eternal Spring" opens the Spark route and "Life is for the living" closes it. In "Dangerous Liaisons", "I'm not your enemy" commits you to the Ward and "Escape" lands you in a cell at the Chemical Plant. In "The Last Wish", shooting the Doctor gives the Strelok ending and lowering the gun gives Project Y. You can't spare Scar with a dialogue line: on every route except Spark he's a mandatory fight, and our bosses guide shows how to win it.
A note on patches. I didn't spot a single change in the update notes that alters the outcome of these choices, only bug fixes (Foma, Solder, Nimble, the Cost of Hope branches in 2.0.5). The full 2.0 notes are huge, though, and I didn't comb them line by line for this. And 2.0 added an Advanced Start for the Ward or Spark, where choices up to "A Minor Incident" are already made for you.
 The video loads from YouTube (Google) when you press play. Privacy policy
Sources
Series wiki: A Needle in a Haystack, King of the Hill, Back to the Slag Heap, Docent, Nimble, Unhealthy Competition, Drowned; Russian wiki quest pages for outcomes and rewards. Game8: Squint, Shah or Roosevelt, unusual PDA, Nimble, Ward or Noontide, Zulu or Mavka. PC Gamer, Prima Games, GamesRadar, Sportskeeda, GameRant. Videos by SpookyFairy, Backseat Guides and Gamerpillar. Screenshots from Steam and GSC news.